Analysis / Process / Research for Paintings
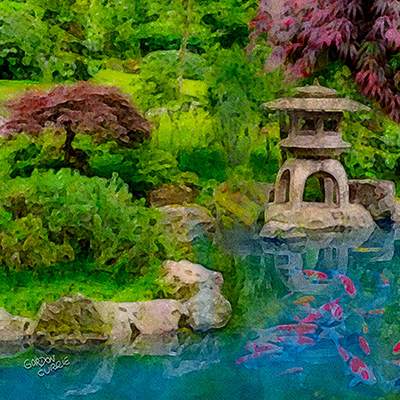
In the past few days, I developed, over 6 hours, a painting called “Japanese Koi and Pond’. I posted some details on the brushes and program I used (Procreate) but I wanted to add that a lot of work went into researching and analyzing this painting. Here is that story.
Firstly, before I paint a digital or acrylic painting, I research the subject. In this case, not knowing a great deal about Japanese gardens, I needed to know about the trees/shrubs, granite materials, foliage, etc. In order to find brushes that can duplicate these textures.
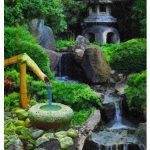
I created mood boards (created in Pinterest) of Japanese monuments, pagodas, and gardens. This allowed me to accurately sketch garden layouts and create plants that looked like they belong. Additionally, I started mocking up colour palettes that would work for me. All part of the process.
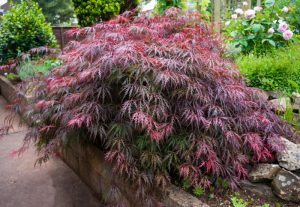
My next research task was studying plants from Japanese gardens using my trusty Google search, with a focus on image search. I do not believe in copying but needed to recheck my research on plants and foliage leaf patterns. Nothing looks worse than painting a plant or tree that does not exist in a Japanese garden.
I also researched on Youtube, painting Japanese gardens in Acrylic and Watercolour to see what others had done and to watch tutorials to learn techniques. I also searched through dozens of artists’ sites to see examples of garden paintings in this genre.
At this point, I easily have 8-11 hours of background research completed and I have yet to start the painting!
Before I go much further, I needed to determine a layout and chose a square layout. Using the rule of thirds, I drew in some lines to break the painting up into 3rds. At this point, I determined the stone pagoda structure would rest on the right side of the picture, 2/3 rd’s across the page. And about 1/3 rd down the page.
Once I placed the pagoda (I also refer to this as a monument/cairn), on the right. I wanted to balance this with foliage on the left side, tiered like stack stones. With a red coloured Japanese maple. Above this foliage “stack”, I sketch in some grass, going from left to right, with a downward direction pointing to the pagoda, as a visual cue for the eye to wander.
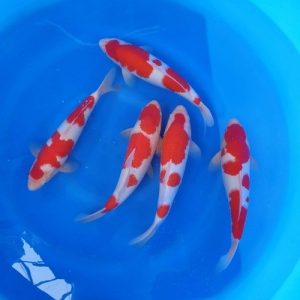
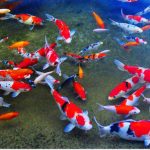
Below the foliage stack on the left, I placed a series of horizontal granite blocks with cool textures and light illuminated faces (on the tops) pointing towards the pond on the right. This pond would have a series of Koi fish swimming in circles to add to the picture. They would be created in the water, surrounded by reflections of the pagoda.
The water in the lower 3rd of the image would be made up of dirty water with mud, debris (leaves, flower petals), along with reflections and some blue tints above the fish. The koi fish would be below the water only a few inches, swimming by the surface. This would allow the viewer to see the outlines/shapes of the koi. But more of a suggestion they were there.
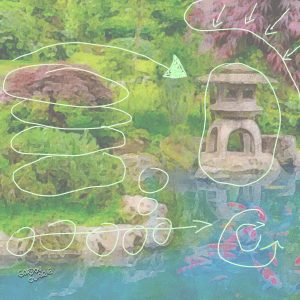
- I have attached a drawing on the general directions my visual elements would take in the image.
As part of my research and planning, I like to list the steps I hope to take in building the fundamentals of the image. So I block out larger areas of colour and shape with custom brushes. I start with shadow colours (in this example, for foliage) and then layer in brighter shades of green and browns/yellows.
After I sketch out the solid colour blocks and shapes (and they look appealing and balanced), I will experiment with some textures. It is critical at this point I determine where my lighting is coming from (sunlight). Garden’s are lit by the sun outdoors, reflected light by the sky (with a blue colour cast), reflected light by other plants as well as water reflections. Lighting a garden image can be very complex and involve a lot of colours.
My painting progresses and starts to take shape. In some areas of the painting, I may copy and paste an area of the picture duplicating the textures to save me some time. I can stretch or manipulate that layer as I see fit. I also review the painting to ensure the leaves and branches do not look perfect. I need to ensure they look random, include discoloured foliage and broken, deformed sticks, chipped stone. As an example when I paint on acrylic paintings, When I paint rocks like granite, there will be cracks, chips, and odd colourations just like in nature. We have to remember to duplicate the “chaos” of nature for it to be believable.
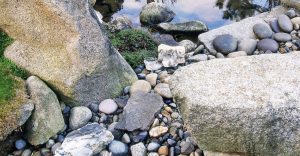
I want to add that I am not striving for perfect painting and foliage/plants. I want to create a suggestion of moss, leaves, and stone textures. The human eye fills in the rest and if you are really creative, you see aspects of this painting that do not exist.
As I continue to finish this painting, not unlike a game concept artist, I flipped the canvas to see how it looks in reverse. You can find many mistakes or problems in your drawings/paintings doing this.
Once the painting is getting close to completion, much like acrylic paintings, I will create and layer “digital glazes” to accentuate shadows and colour casts.
The last step, and its a tough one for many, is determining when to stop. On close to 90% of my paintings, I create a signature layer at the top of the painting and then see spots that need extra work. One likes to think you’re signing the painting, it is complete. Rarely is this the case!
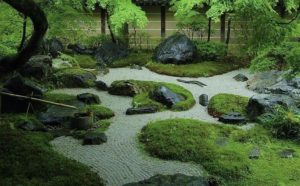
Hoped you like my explanation on how I paint and research a painting. A simple 6-hour painting can easily take 20-30 hours of work. Be sure and check out my Facebook page and Instagram page for more art posts.
Cheers
Gordon Currie
